
How to setup GKE Cluster directly using Docker Desktop for Mac
Refer this link
Pre-requisite
- Install/Upgrade Docker for Mac 18.03 CE Edition
- Install google-cloud-sdk
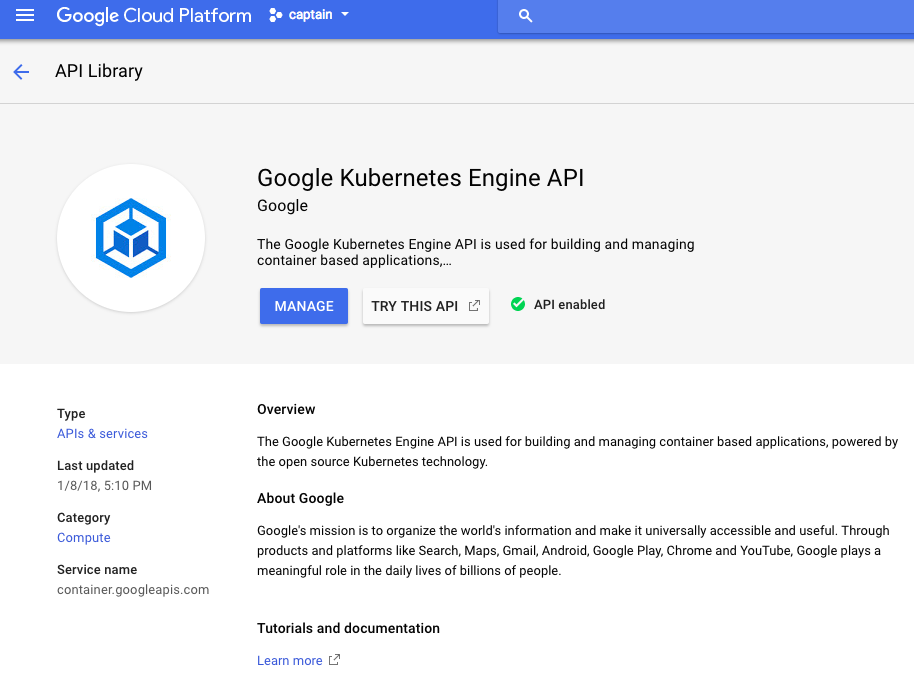
- Enable Google Cloud Engine API
- Authenticate Your Google Cloud using
gcloud auth
Step-1
Installing Google Cloud SDK on your macOS
Make sure that Python 2.7 is installed on your system:
Ajeets-MacBook-Air:~ ajeetraina$ python -V
Python 2.7.10
Download the corresponding version of Google Cloud SDK. In this case the Mac OS version for 64-bits systems is downloaded.
wget https://dl.google.com/dl/cloudsdk/channels/rapid/downloads/google-cloud-sdk-195.0.0-darwin-x86_64.tar.gz
Untar the downloaded file, as follows:
tar xfz google-cloud-sdk-195.0.0-darwin-x86_64.tar.gz
and execute the following command to install Google Cloud SDK in your system:
./google-cloud-sdk/install.sh
Initializing the SDK
gcloud init
In your browser, log in to your Google user account when prompted and click Allow to grant permission to access Google Cloud Platform resources.
Enabling Kubernetes Engine API
Authenticate Your Google Cloud
gcloud auth login
Creating GKE Cluster
gcloud container clusters create k8s-lab1 --disk-size 10 --zone asia-east1-a --machine-type n1-standard-2 --num-nodes 3 --scopes compute-rw
Viewing it on Docker for Mac UI
You should be able to view GKE cluster under Preference UI by now.
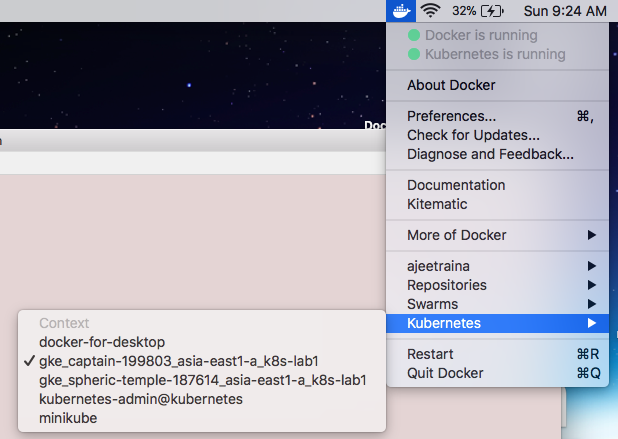
Be aware that your Kubernetes context can be named differently and it depends on the project’s name under which the Kubernetes cluster is being deployed.
Install gke-gcloud-auth-plugin
This is required for use with kubectl by following https://cloud.google.com/blog/products/containers-kubernetes/kubectl-auth-changes-in-gke
./google-cloud-sdk/bin/gcloud components install kubectl


Your current Google Cloud CLI version is: 432.0.0
Installing components from version: 432.0.0

┌──────────────────────────────────────────────┐
│     These components will be installed.      │
├────────────────────────┬─────────┬───────────┤
│          Name          │ Version │    Size   │
├────────────────────────┼─────────┼───────────┤
│ gke-gcloud-auth-plugin │   0.5.3 │   7.2 MiB │
│ kubectl                │  1.25.9 │ 107.5 MiB │
│ kubectl                │  1.25.9 │   < 1 MiB │
└────────────────────────┴─────────┴───────────┘

For the latest full release notes, please visit:
  https://cloud.google.com/sdk/release_notes

Do you want to continue (Y/n)?  Y

╔════════════════════════════════════════════════════════════╗
╠═ Creating update staging area                             ═╣
╠════════════════════════════════════════════════════════════╣
╠═ Installing: gke-gcloud-auth-plugin                       ═╣
╠════════════════════════════════════════════════════════════╣
╠═ Installing: gke-gcloud-auth-plugin                       ═╣
╠════════════════════════════════════════════════════════════╣
╠═ Installing: kubectl                                      ═╣
╚
Put gcloud under PATH
./google-cloud-sdk/bin/gcloud container clusters get-credentials k8s-lab1 --zone us-west4-b  --project arctic-robot-387304
export PATH=./google-cloud-sdk/bin:$PATH
Listing the Nodes
kubectl get nodes
NAME                                      STATUS   ROLES    AGE   VERSION
gke-k8s-lab1-default-pool-35628f19-762j   Ready    <none>   47m   v1.25.8-gke.500
gke-k8s-lab1-default-pool-35628f19-83xz   Ready    <none>   47m   v1.25.8-gke.500
gke-k8s-lab1-default-pool-35628f19-w5xq   Ready    <none>   47m   v1.25.8-gke.500
You can connect to your cluster via command-line or using a dashboard. Remember your project’s name can be different.
gcloud container clusters get-credentials k8s-lab1 --zone asia-east1-a --project captain-199803
Deploy Nginx on GKE Cluster
$ kubectl run nginx --image=nginx --replicas=3


deployment "nginx" created
Verify that the pods are running
kubectl get pods -owide
NAME                    READY     STATUS    RESTARTS   AGE       IP          NODE
nginx-7c87f569d-glczj   1/1       Running   0          8s        10.12.2.6   gke-k8s-lab1-default-pool-b2aaa29b-w904
nginx-7c87f569d-pll76   1/1       Running   0          8s        10.12.0.8   gke-k8s-lab1-default-pool-b2aaa29b-2gzh
nginx-7c87f569d-sf8z9   1/1       Running   0          8s        10.12.1.8   gke-k8s-lab1-default-pool-b2aaa29b-qpc7
You can see that each nginx pod is now running in a different node (virtual machine).
Expose the nginx cluster as an external service
In your current setup, where you have deployed a single replica of the Nginx Deployment in a specific namespace (ns2), you may not necessarily need a load balancer.
By default, when you create a Deployment in Kubernetes, it will create a single Pod and manage its lifecycle. The Pod will be scheduled on one of the available nodes in your cluster. You can access the Nginx service by using the Pod’s IP address directly or by using port forwarding.
Here’s an example of how you can access the Nginx service using port forwarding:
kubectl port-forward deployment/nginx-deployment -n ns2 8080:80
This command will forward local port 8080 to the Nginx container’s port 80. You can then access the Nginx service by opening a web browser and navigating to http://localhost:8080.
If you need to expose the Nginx service externally and have it accessible from outside the cluster, you can consider using a Service of type LoadBalancer. This will create an external load balancer that will route traffic to the Pods. However, keep in mind that using a LoadBalancer service will incur additional costs and may require specific network configurations depending on your cloud provider.
If your goal is to simply test and access the Nginx service within the cluster, port forwarding should be sufficient. If you have specific requirements for external access or scaling, you can explore using a LoadBalancer service or other options like an Ingress controller.
$ kubectl expose deployment nginx --port=80 --target-port=80 \
--type=LoadBalancer

service "nginx" exposed
Find the network load balancer address:
kubectl get service nginx
NAME      TYPE           CLUSTER-IP    EXTERNAL-IP   PORT(S)        AGE
nginx     LoadBalancer   10.15.247.8   <pending>     80:30253/TCP   12s
It may take several minutes to see the value of EXTERNAL_IP.
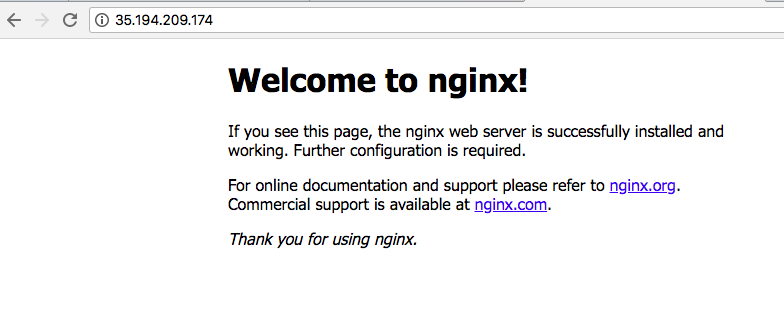
If you don’t see it the first time with the above command, retry every minute or so until the value of EXTERNAL_IP is displayed.
You can then visit http://EXTERNAL_IP/ to see the server being served through network load balancing.
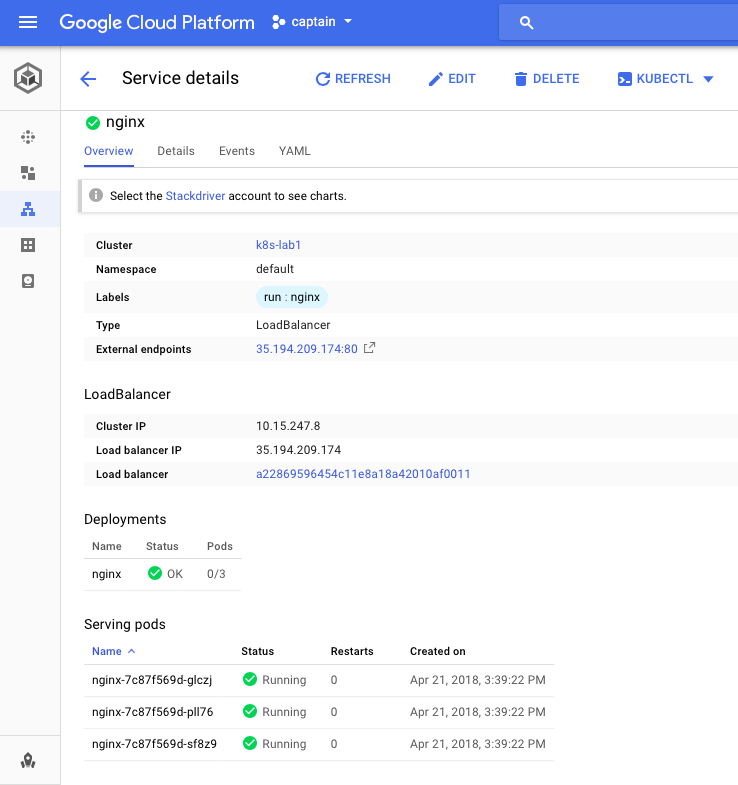
GKE provides amazing platform to view Workloads & Load-balancer as shown below:
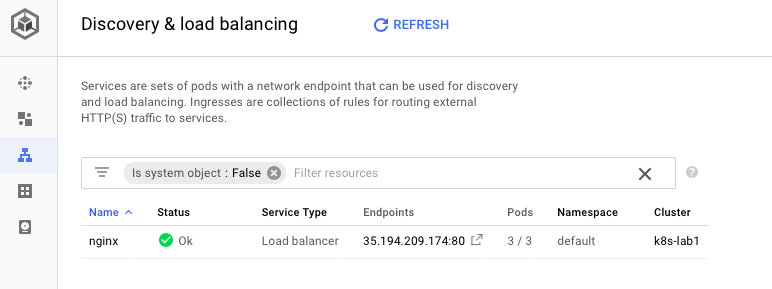
GKE also provides UI for displaying Loadbalancer:
Installing Kubeview for GKE cluster
git clone https://github.com/benc-uk/kubeview
cd kubeview
mv example-values.yaml myvalues.yaml
helm install kubeview ./kubeview -f myvalues.yaml
NAME: kubeview
LAST DEPLOYED: Sun May 28 20:40:33 2023
NAMESPACE: default
STATUS: deployed
REVISION: 1
NOTES:
=====================================
==== KubeView has been deployed! ====
=====================================
  To get the external IP of your application, run the following:

  export SERVICE_IP=$(kubectl get svc --namespace default kubeview -o jsonpath='{.status.loadBalancer.ingress[0].ip}')
  echo http://$SERVICE_IP

  NOTE: It may take a few minutes for the LoadBalancer IP to be available.
        You can watch the status of by running 'kubectl get --namespace default svc -w kubeview'
ajeetsraina@Q537JQXLVR charts % export SERVICE_IP=$(kubectl get svc --namespace default kubeview -o jsonpath='{.status.loadBalancer.ingress[0].ip}')
  echo http://$SERVICE_IP
http://
ajeetsraina@Q537JQXLVR charts % kubectl get po,svc,deploy
NAME                            READY   STATUS    RESTARTS   AGE
pod/kubeview-6c4fcb74cc-mkbs2   1/1     Running   0          22s

NAME                 TYPE           CLUSTER-IP     EXTERNAL-IP   PORT(S)        AGE
service/kubernetes   ClusterIP      10.60.0.1      <none>        443/TCP        80m
service/kubeview     LoadBalancer   10.60.15.108   <pending>     80:31787/TCP   22s

NAME                       READY   UP-TO-DATE   AVAILABLE   AGE
deployment.apps/kubeview   1/1     1            1           22s
export SERVICE_IP=$(kubectl get svc --namespace default kubeview -o jsonpath='{.status.loadBalancer.ingress[0].ip}')
  echo http://$SERVICE_IP

http://34.125.190.171
Where does my Pod got deployed?
kubectl get po -o wide
NAME                        READY   STATUS    RESTARTS   AGE     IP          NODE                                      NOMINATED NODE   READINESS GATES
kubeview-6c4fcb74cc-mkbs2   1/1     Running   0          8m48s   10.56.1.7   gke-k8s-lab1-default-pool-35628f19-83xz   <none>           <none>
ajeetsraina@Q537JQXLVR charts %
The Nginx Pod with the name “kubeview-6c4fcb74cc-mkbs2” is running on the node “gke-k8s-lab1-default-pool-35628f19-83xz”. The node information is displayed in the “NODE” column of the output you provided.
Can I schedule it in some other node
Yes, you can request Kubernetes to deploy a Pod on a specific node by using node selectors or node affinity.
Node selectors allow you to specify a set of key-value pairs in the Pod’s specification, and Kubernetes will schedule the Pod on a node that matches the specified labels. You can set the node selector in the Pod’s YAML definition using the nodeSelector field.
Node affinity provides more advanced control over Pod scheduling by allowing you to define rules and preferences for Pod placement based on node attributes such as labels, taints, or other custom node properties. You can set node affinity rules in the Pod’s YAML definition using the affinity field.
By utilizing node selectors or node affinity, you can influence the scheduling decisions of Kubernetes and deploy Pods on specific nodes based on your requirements.
apiVersion: v1
kind: Pod
metadata:
  name: nginx-pod
spec:
  containers:
  - name: nginx
    image: nginx
  affinity:
    nodeAffinity:
      requiredDuringSchedulingIgnoredDuringExecution:
        nodeSelectorTerms:
        - matchExpressions:
          - key: kubernetes.io/hostname
            operator: In
            values:
            - node-1
In the above example, the Pod has a node affinity rule specified using affinity.nodeAffinity. It uses the requiredDuringSchedulingIgnoredDuringExecution strategy, which means the rule must be satisfied during scheduling, but it can be ignored during execution if the node becomes unavailable.
The nodeSelectorTerms field defines a list of node selector rules. In this case, we have a single rule that specifies the kubernetes.io/hostname label key and sets the value to node-1. This indicates that the Pod should be scheduled on a node with the label kubernetes.io/hostname=node-1.
You can modify the values field to match the specific label value of the node you want to target for deployment.
Say, I want to deploy it to gke-k8s-lab1-default-pool-35628f19-762j node
kubectl get nodes
NAME                                      STATUS   ROLES    AGE   VERSION
gke-k8s-lab1-default-pool-35628f19-762j   Ready    <none>   91m   v1.25.8-gke.500
gke-k8s-lab1-default-pool-35628f19-83xz   Ready    <none>   91m   v1.25.8-gke.500
gke-k8s-lab1-default-pool-35628f19-w5xq   Ready    <none>   91m   v1.25.8-gke.500
Create the new 762-node.yaml
apiVersion: v1
kind: Pod
metadata:
  name: webpage-pod
spec:
  nodeName: gke-k8s-lab1-default-pool-35628f19-762j
  containers:
  - name: webpage
    image: ajeetraina/webpage
    ports:
    - containerPort: 8004
kubectl get po -o wide
NAME                        READY   STATUS    RESTARTS   AGE   IP          NODE                                      NOMINATED NODE   READINESS GATES
kubeview-6c4fcb74cc-mkbs2   1/1     Running   0          17m   10.56.1.7   gke-k8s-lab1-default-pool-35628f19-83xz   <none>           <none>
webpage-pod                 1/1     Running   0          11s   10.56.2.8   gke-k8s-lab1-default-pool-35628f19-762j   <none>           <none>
Including ns2 Pod
cat 762j-node.yaml
apiVersion: v1
kind: Namespace
metadata:
  name: ns2

---

apiVersion: v1
kind: Pod
metadata:
  namespace: ns2
  name: webpage-pod
spec:
  nodeName: gke-k8s-lab1-default-pool-35628f19-762j
  containers:
  - name: webpage
    image: ajeetraina/webpage
    ports:
    - containerPort: 8004
kubectl apply -f 762j-node.yaml
namespace/ns2 unchanged
pod/webpage-pod created
Cleaning Up
gcloud container clusters delete k8s-lab1 --zone asia-east1-a
How to stop GKE Cluster
There is no direct “stop” command available to stop a GKE cluster. The recommended approach to pause or stop GKE cluster is to resize it to zero nodes, effectively scaling it down to no running workloads.
gcloud container clusters resize CLUSTER_NAME --size=0 --zone=ZONE
Bringing it back
gcloud container clusters describe CLUSTER_NAME --zone=ZONE